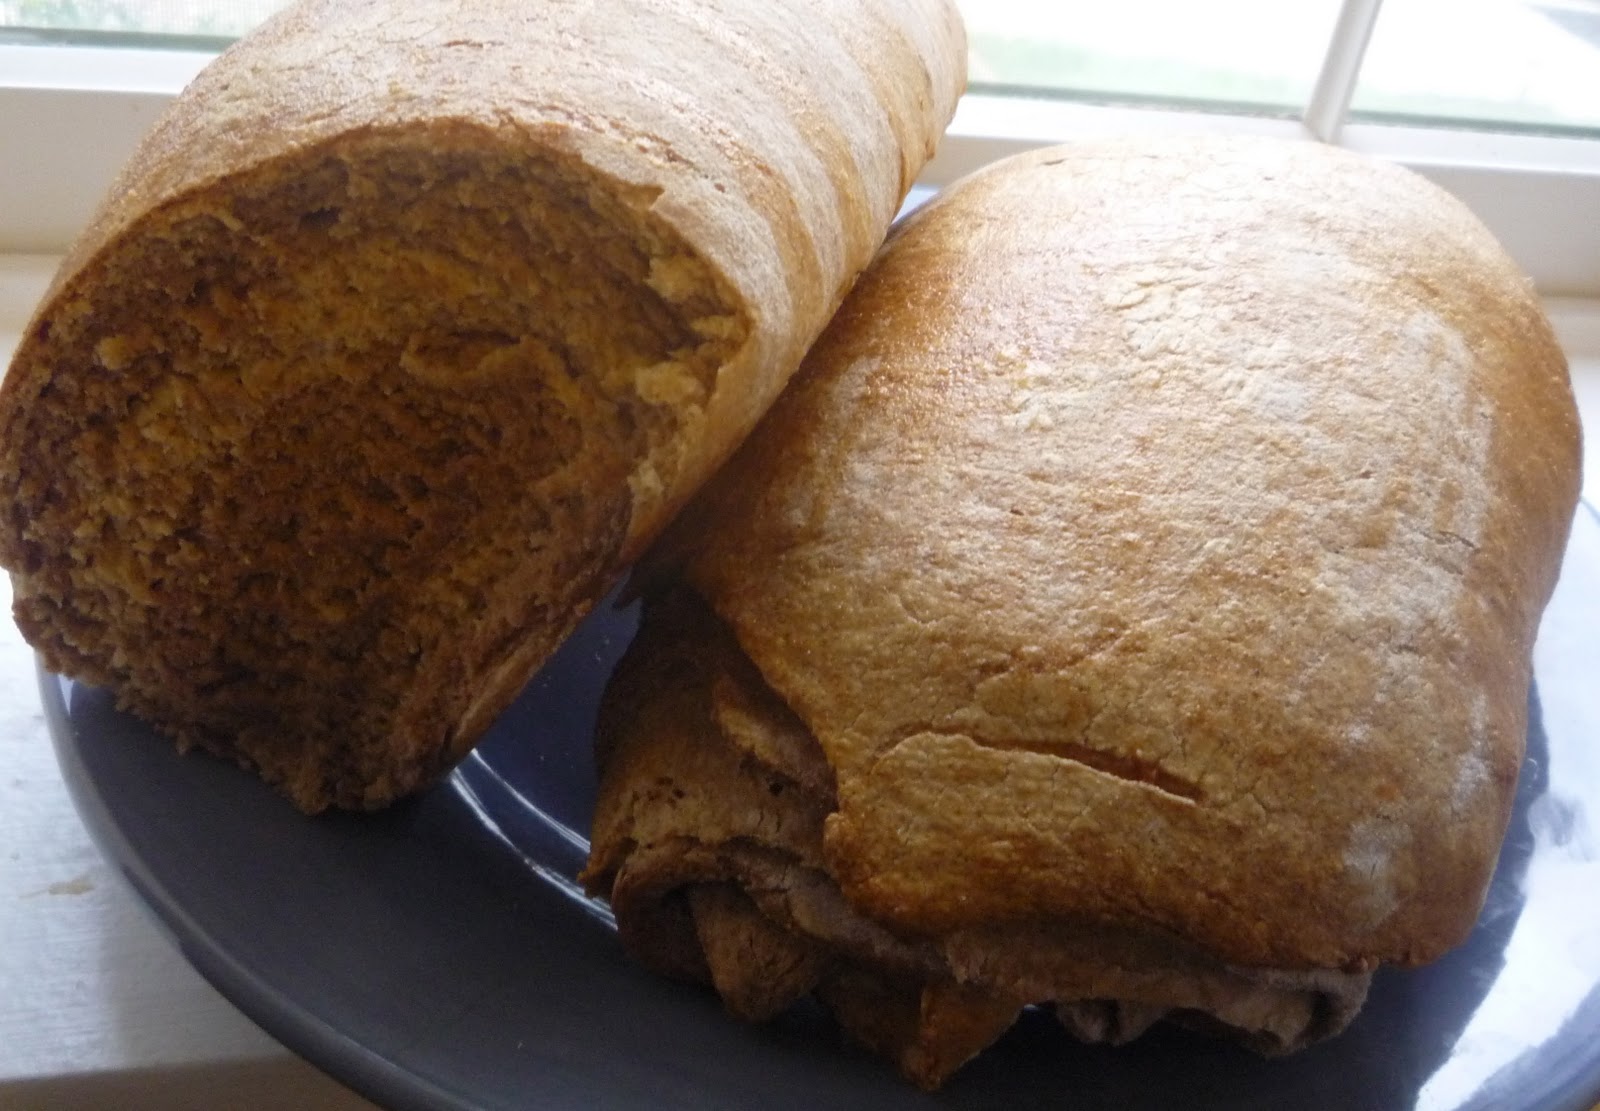
Over the last year, I have come to love bread making. It's relatively easy, and I find the prep and shaping of it to be somehow cathartic. Plus, it makes a truly impressive final product that will wow almost anyone. The most difficult part of any bread prep tends to be the proofing (a.k.a. rising) times, as you must be home to make sure your bread is not left out to fall. As a stay at home mom with a five month old and a 25 month old, I'm typically not far away from home, so that's not usually a problem. But, these last few weeks have been nothing but late night cookie baking and decorating (and traveling alone with my girls on a seven hour road trip...what was I thinking?), so I've been feeling the need to get in the kitchen and well, knead.
(My word-play skills are impressive, aren't they?)
So, I decided it was finally time to delve into my new Peter Reinhart book, The Bread Baker's Apprentice. I have read it cover to cover several times but just have not had the opportunity to make anything. His sourdough has been on my list for a while, and I even made a starter for it. But, we ended up being away so much I wasn't able to feed it like I needed and finally tossed it. I wanted something, though, to make now. You know, instant gratification. No starters - no pre ferments - just good ole flour, yeast and whatever else could be thrown in together. This rye bread seemed to be the perfect solution.
One of the great things about this recipe is that it is naturally milk free (and if you opt out of the egg wash, it's egg free, too). I didn't have to make any substitutions or worry that rice milk or vegan butter wouldn't produce the desired results. It is also an incredibly easy recipe and the proofing times aren't too crazy with a typical two rises, each for 60-90 minutes. My only issue came when I couldn't find white rye flour. I was able to find organic rye flour, but not white rye flour, although I plan to order some from King Arthur. Reinhart does specifically request this white flour, but sometimes you just have to make do. What came out of the oven was a dense, aromatic and wonderful bread that will be great for toast and sandwiches. The Monkey even enjoyed it, which is always a welcome surprise.

Light Rye Bread:
1.5 Cups White Rye Flour (or, rye flour if you cannot find white rye)
3 Cups Bread Flour
1.5 tsp. salt
1.75 tsp. yeast
1 Tbs. molasses
2 Tbs. shortening
1.25 Cups water, plus 2 Tbs. if needed
Dark Rye Bread:
1.5 Cups White Rye Flour (or, rye flour if you cannot find white rye)
3 Cups Bread Flour
1.5 tsp. salt
1.75 tsp. yeast
1 Tbs. molasses
2 Tbs. shortening
1.25 Cups water, plus 2 Tbs. if needed
2 Tbs. Cocoa powder dissolved in 2 Tbs. water (or, 1 Tbs. liquid caramel coloring)
1 egg whisked with 1 tsp. water until frothy.
For the light rye:
Combine the rye flour, bread flour, salt and yeast in the bowl of a stand mixer fitted with the paddle attachment. Mix on low just long enough to combine. Add the molasses, shortening, and 1.25 cups water. Mix on low for about 1 minute until the dough comes together and all the dry bits have been incorporated, adding the 2 Tbs. of water only if needed (I needed it).
Switch to the dough hook and knead on medium low until the dough feels a little tacky but not sticky, about 4 minutes. (Reinhart suggests adding flour, a little at a time, if needed. I definitely did not need extra flour). Place the dough in a lightly oiled large bowl, turning once to coat. Cover loosely with plastic wrap and proof at room temperature until doubled in size, approximately 90 minutes.
For the dark rye:
Dissolve the cocoa powder in water and set aside.
Repeat process of light rye, adding the dissolved cocoa in at the same time as the molasses, shortening and water. Also proof this dough at room temp., lightly covered in plastic in an oiled bowl, for 90 minutes.
Once the doughs have doubled in size, *lightly* flour a work surface (I think I probably could have done without the flouring at all and the surface I work on usually needs quite a bit of flour, but just to be safe, do add a very light dusting of bread flour). Divide each of the doughs into four equal pieces and set aside. Using a rolling pin, roll each piece into an oblong shape approximately 5 x 8 inches.
Once all pieces have been rolled, begin shaping the loaves:
Stack one piece of dark rye on top of a light piece. Repeat. Fold the long edge of one side over the middle of the loaf, like a letter. Press down with the edge of your hand to seal the dough a little, but do not press so hard you de-gas the bread. Fold the other side over to complete the letter-like fold, and seal with your fingers. Lay the folded loaf, seam-side down, on a baking sheet fitted with parchment paper, and proof at room temperature until nearly doubled in size, 60-90 minutes.
Repeat this process to complete the additional loaf.
Preheat oven to 350.
Gently brush the egg wash onto each loaf.
Bake for 40-45 minutes until the bread is golden and sounds hollow when tapped on the bottom. Immediately remove to a cooling rack and let cool 1-2 hours before slicing and serving.
A few notes:
Using rye flour versus white rye flour works fine, but the swirl is not as obvious.
When forming the loaves, you want the fold to be tight. If it is too loose the loaf will separate into individual layers rather than baking as one big layer. But, try not to over-handle the dough. Rye bread is already a dense dough and you don't want to toughen it anymore than necessary.
Reinhart states one baking sheet should be used for each loaf - two sheets total - but I just used one of my half sheet pans, covered in parchment paper, for both loaves. He does also say the loaves can be stored in the refrigerator for up to three days before the second proofing. So, if you want to bake one and chill one, just let one loaf go through the whole process, and store one on a baking sheet in the fridge covered in plastic before it proofs for the second time. Once you remove it from the fridge, let it proof until almost double in size.
Make sure the seams are facing down when you place the loaves onto the baking sheets. If you do not, the loaves will expand and open some during baking.
Reinhart also says you can use loaf pans for baking. I would not do this. These loaves are very large and when baked without the restricting sides of a loaf pan, they are beautiful and rustic in appearance.


